Create a new project
Step 1: Enter your project details
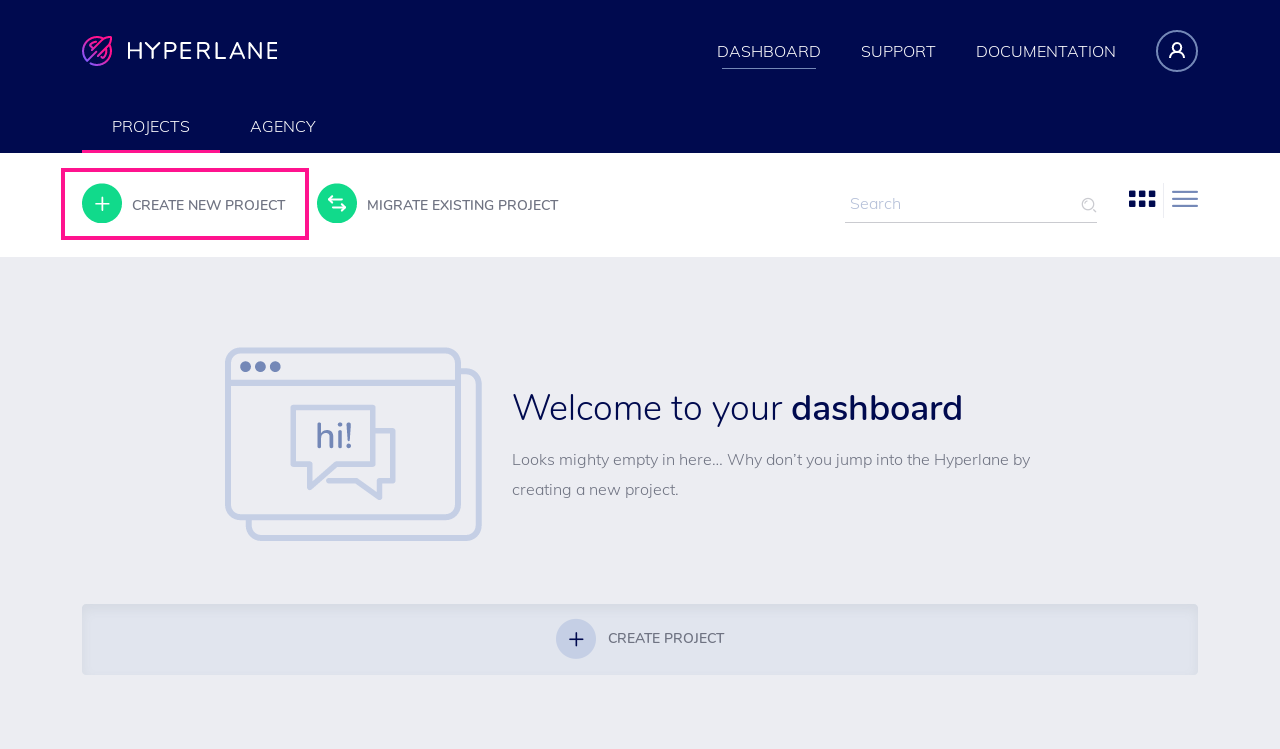
Click CREATE NEW PROJECT
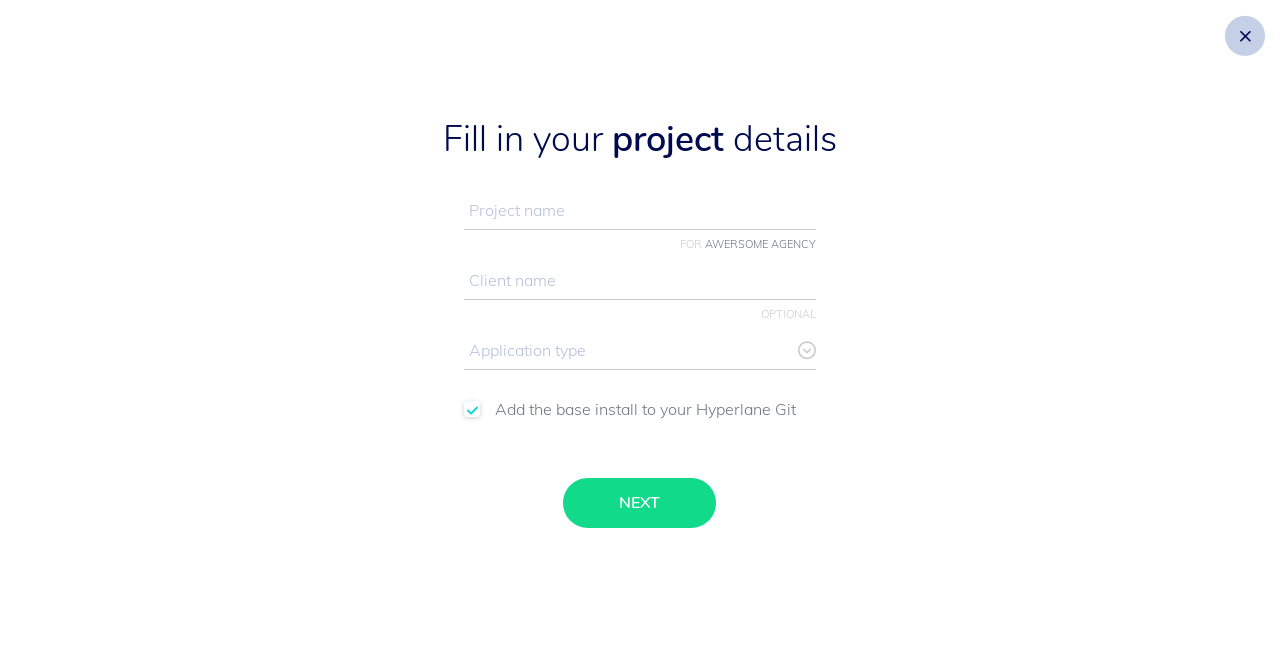
You will be asked to complete the project details.
- Project name (you can change this later)
- Client name (not required, you can change this later)
- Application type: WordPress, Craft 2 or Craft 3
- You have the option to add the base install of your CMS of choice to your Hyperlane Git (recommended). If you choose not to do this, you can start from scratch with an empty Git repository. More on Git further on.
Step 2: Lift-off
After pressing next, your project is being prepped for lift-off. This might take a few moments, as the Hyperlane engines are revving up! Hyperlane always creates a fresh set of containers, just for your site. We then install PHP, Apache and MySQL. Finally, we install the latest version of the content management system (CMS) you have chosen in the previous step.
Step 3: Go to your project
Click VIEW PROJECT to check out the project you just created.
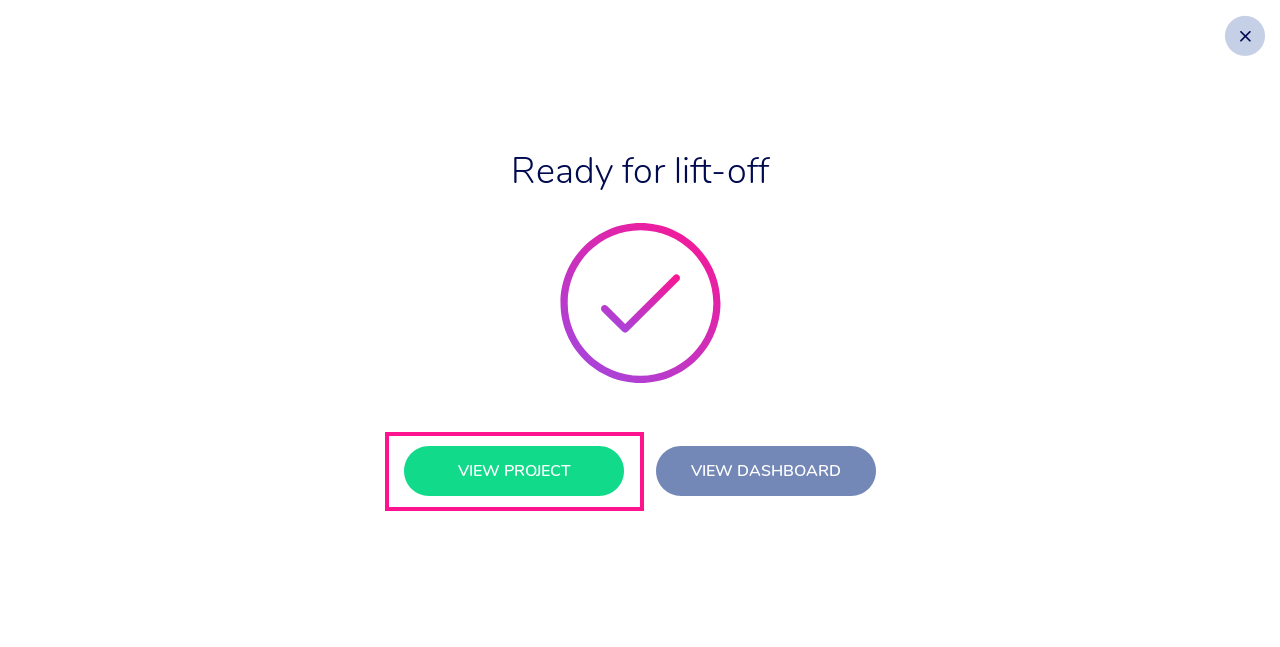
Congrats! You are ready to start developing your first website on Hyperlane.